Common Causes of Hidden Water Leaks Behind Toilets and How to Fix Them
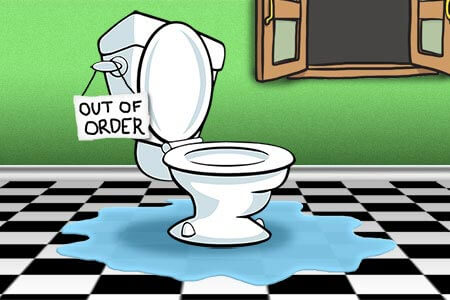
Water leaks from behind a toilet can be sneaky and troublesome. These leaks often go unnoticed but can lead to increased water bills, damage to your bathroom floor, and even mold growth. In this guide, we will explore the common causes of hidden water leaks behind toilets and provide step-by-step instructions on how to identify and fix them.
I– Common Causes of Hidden Water Leaks Behind Toilets:
1. Faulty Toilet Tank Flapper:
Description: The toilet tank flapper is a rubber or plastic seal that controls the flow of water from the tank into the toilet bowl. It is attached to a chain that is connected to the flush handle. When you flush the toilet, the flapper lifts, allowing water to flow from the tank into the bowl. However, if the flapper is malfunctioning, it may not seal properly after flushing, allowing water to continuously flow from the tank into the bowl.
Consequences: A faulty flapper can result in a continuous trickle of water into the toilet bowl, leading to a constant hissing or running water sound. This not only wastes water but can also drive up your water bill. How to Fix It:
- To fix this issue, begin by turning off the water supply to the toilet to prevent further water waste.
- Remove the toilet tank lid and locate the flapper. Inspect it for any visible signs of damage, wear, or deformation.
- If the flapper is damaged, warped, or deteriorated, it needs replacement. You can purchase a suitable replacement flapper from a hardware store.
- Follow the manufacturer’s instructions to install the new flapper, ensuring a proper seal. Adjust the chain length to allow the flapper to close fully after each flush.
- Turn the water supply back on and test the toilet to ensure the flapper now seals correctly, preventing any further leaks.
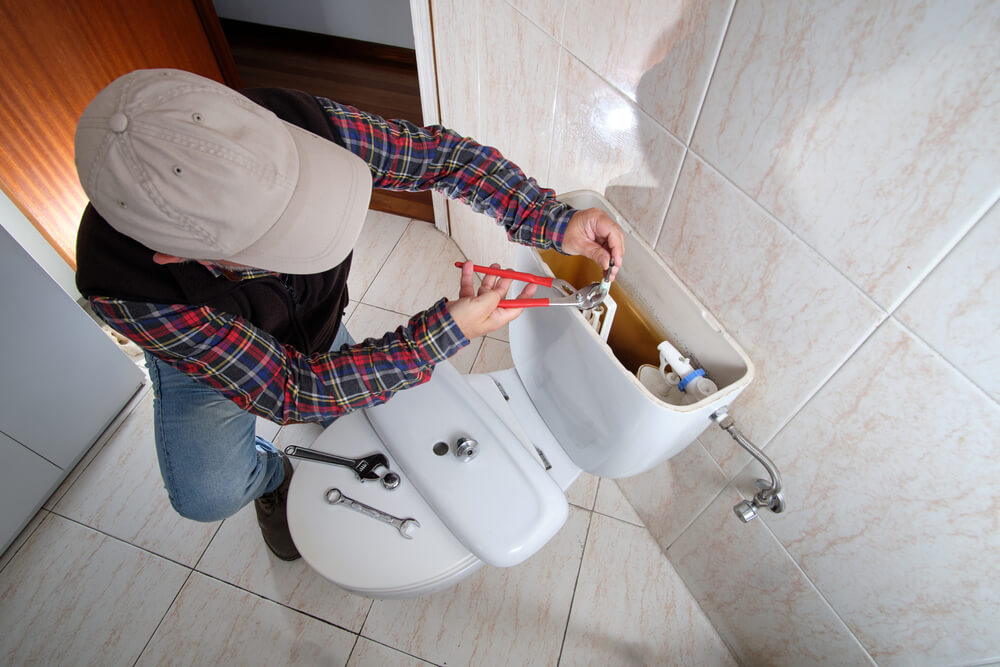
2. Faulty Fill Valve:
Description: The fill valve, also known as the ballcock, is responsible for controlling the water level inside the toilet tank. A faulty fill valve can lead to overfilling the tank, causing excess water to spill into the overflow tube and into the toilet bowl.
Consequences: When the fill valve is malfunctioning, it may fail to shut off the flow of water into the tank at the appropriate level. This results in a continuous flow of water into the overflow tube and the bowl, leading to a constant running or hissing sound and water waste.
How to Fix It:
- To address this issue, begin by turning off the water supply to the toilet.
- Flush the toilet to empty the tank.
- Locate the fill valve inside the tank and remove it. You can generally do this by disconnecting the water supply line and unscrewing the nut securing the valve in place.
- Purchase a compatible replacement fill valve from a hardware store and install it according to the manufacturer’s instructions.
- Adjust the float and valve settings to ensure the fill valve shuts off the water flow at the appropriate water level.
- Turn the water supply back on and verify that the fill valve is functioning correctly by observing the water level in the tank. It should not exceed the recommended level, preventing water from spilling into the overflow tube.
3. Damaged Supply Line:
Description: The water supply line connects the toilet’s water inlet valve to the water supply in the wall. This flexible tube can develop cracks or leaks over time due to wear and tear.
Consequences: A damaged supply line can result in water leaks that often go unnoticed. These leaks can slowly drip or seep behind the toilet, causing damage to the floor and potentially leading to mold growth. How to Fix It:
- To address this issue, turn off the water supply to the toilet.
- Use a wrench to disconnect the supply line from both the toilet’s water inlet valve and the wall’s water supply connection.
- Inspect the supply line for any visible cracks, damage, or signs of wear. If it is damaged, it should be replaced.
- Purchase a new supply line of the appropriate length and fittings. Make sure it is compatible with your toilet.
- Connect the new supply line to the toilet and the wall’s water supply, ensuring a secure and watertight connection.
- Turn the water supply back on and carefully check for any leaks around the connections. Tighten them as needed to prevent leaks.
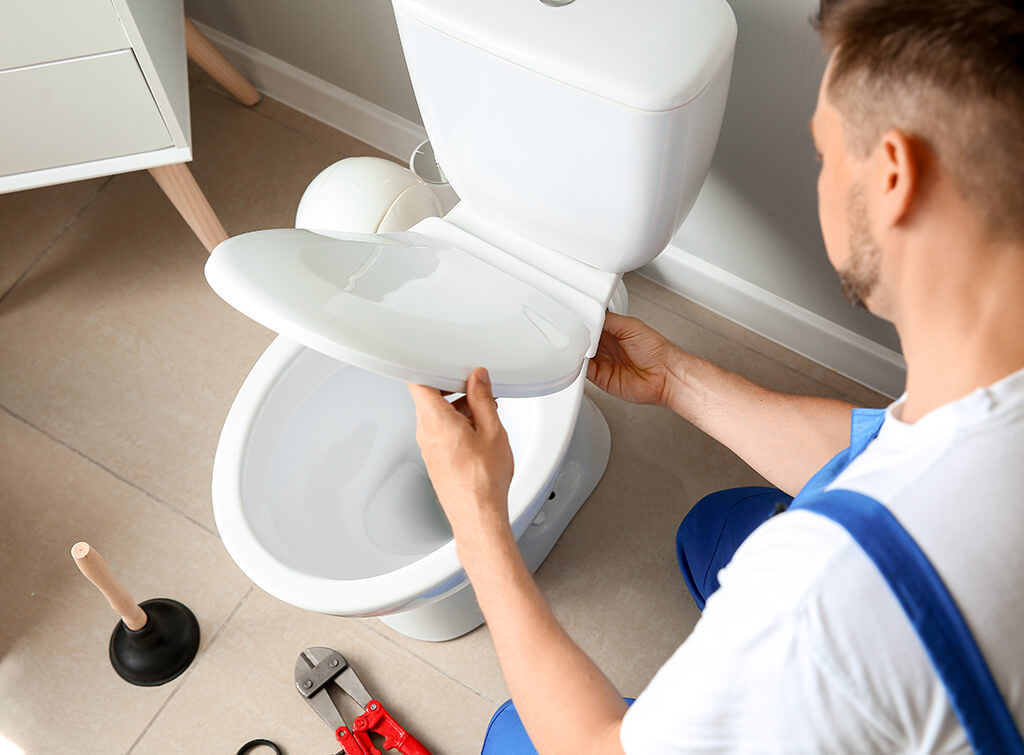
4. Wax Ring Seal Breakdown:
Description: The wax ring is a critical component that seals the area between the toilet base and the floor flange. Over time, this wax ring can deteriorate, leading to hidden leaks underneath the toilet.
Consequences: A deteriorated wax ring can allow water to escape from under the toilet, potentially causing damage to the subfloor, leading to unpleasant odors, and even promoting mold growth.
How to Fix It:
- Start by turning off the water supply to the toilet.
- To access the wax ring, you need to remove the toilet. Begin by disconnecting the water supply line and loosening the bolts securing the toilet to the floor.
- Gently lift the toilet from its base and set it aside.
- Inspect the wax ring for signs of deterioration, such as flattening, cracking, or visible damage.
- Remove the old wax ring and replace it with a new one. You can find wax rings with a plastic flange that makes installation easier.
- Carefully align the toilet base with the floor flange and lower the toilet onto the new wax ring.
- Secure the toilet in place by tightening the bolts, but be cautious not to overtighten and crack the toilet base.
- Reconnect the water supply line and turn the water supply back on.
- Test the toilet for any leaks by flushing and checking the area around the base for any water seepage.
5. Cracked Toilet Base:
Description: In some cases, the toilet base itself may develop cracks over time due to pressure, wear, or improper installation, allowing water to seep out.
Consequences: A cracked toilet base can lead to water leaking onto the bathroom floor, potentially causing damage to the subfloor and promoting mold growth.
How to Fix It:
- Start by turning off the water supply to the toilet.
- To address a cracked toilet base, you will need to replace the entire toilet.
- Remove the water supply line and the bolts securing the toilet to the floor.
- Carefully lift the toilet from its base and set it aside.
- Dispose of the cracked toilet properly and purchase a new one.
- Follow the manufacturer’s instructions to install the new toilet, ensuring a proper seal with a new wax ring.
- Reconnect the water supply line and turn the water supply back on.
- Test the toilet for any leaks by flushing and checking the area around the base for any water seepage.
Hidden water leaks behind toilets can be a common and often overlooked issue. Understanding the common causes, such as faulty toilet tank flappers, fill valves, damaged supply lines, wax ring seal breakdown, and cracked toilet bases, is crucial for preventing water waste and potential damage to your bathroom. Regular inspection and maintenance can help you detect and fix these issues in a timely manner, ensuring that your toilet operates efficiently and leak-free. If you’re unsure about making these repairs, it’s always a good idea to seek the help of a professional plumber to ensure a proper fix and avoid further complications.

II– Detecting Hidden Water Leaks:
Detecting hidden water leaks behind toilets is crucial to prevent water wastage, property damage, and potential health hazards associated with mold growth. Here, we’ll explore various methods for identifying these leaks and provide a comprehensive analysis of each technique.
1. Listen for Unusual Sounds:
- Description: The first method for detecting hidden water leaks is to listen for unusual sounds coming from the toilet area. These sounds include continuous running water or hissing, which can indicate that water is flowing when it shouldn’t be.
- Analysis: Listening for unusual sounds is one of the simplest yet effective ways to identify a hidden leak. When a toilet has a leak, the sound of water running or hissing can be constant and distinct. This method doesn’t require any special tools and can be done by anyone.
- Pros:
- Cost-effective: No additional tools or equipment needed.
- Non-invasive: It doesn’t require taking apart the toilet or any plumbing components.
- Cons:
- Limited precision: While it can indicate the presence of a leak, it doesn’t pinpoint the exact location or cause of the leak.
2. Check for Damp or Discolored Areas:
- Description: Another method for detecting hidden water leaks is to visually inspect the area around the base of the toilet for damp or discolored spots. These signs may indicate that water is leaking and causing damage.
- Analysis: Visually inspecting the toilet area is a straightforward way to identify leaks. Damp or discolored areas, often seen on the floor or the wall near the base of the toilet, can suggest an ongoing leak. However, it’s essential to remember that not all leaks result in visible water damage, especially in the early stages.
- Pros:
- Low cost and easy to perform.
- Non-invasive and doesn’t require special tools.
- Cons:
- May not detect all leaks, especially those in the early stages.
- Doesn’t provide information about the source or cause of the leak.
3. Use Food Coloring in the Toilet Tank:
- Description: To detect leaks originating from the toilet tank, a simple method involves using food coloring. By adding food coloring to the tank, you can see if the color appears in the toilet bowl without flushing, which can indicate a leak.
- Analysis: This method is specific to identifying leaks that stem from the toilet tank, such as those caused by a faulty flapper or fill valve. When properly executed, it can pinpoint the issue with precision.
- Pros:
- Targeted approach for tank-related leaks.
- Cost-effective and easy to perform.
- Cons:
- Limited to identifying tank-related issues.
- May not detect leaks originating from other parts of the toilet or its connections.
4. Choosing the Right Detection Method:
The effectiveness of each detection method depends on the type and location of the hidden water leak. When deciding which method to use, consider the following factors:
- Type of Leak: If you suspect a leak originating from the toilet tank, using food coloring is a practical choice. For leaks affecting other parts of the toilet or its connections, listening for sounds and visually inspecting the area are more suitable.
- Accessibility: Some detection methods, like adding food coloring to the tank, require easy access to the toilet. Others, such as checking for damp areas, involve no contact with the toilet components but may necessitate a closer look at the bathroom floor and walls.
- Completeness: Combining multiple detection methods can provide a more comprehensive assessment. For example, if you hear unusual sounds or see discoloration, it’s a good idea to follow up with a food coloring test to pinpoint the issue more precisely.
- Early Detection: Keep in mind that the sooner you detect a leak, the better. Even minor leaks can lead to significant problems over time, so it’s essential to remain vigilant and perform regular checks.
Detecting hidden water leaks behind toilets is a critical aspect of home maintenance. The choice of detection method should align with the specific nature of the leak and your access to the toilet area. By actively listening for unusual sounds, inspecting for visible signs of damage, and using food coloring to test the toilet tank, you can proactively identify and address leaks, thus preventing water wastage, property damage, and health risks associated with undetected leaks. It is also essential to conduct routine inspections and address any issues promptly to maintain an efficient and leak-free toilet system.

III– Steps to Fix Hidden Water Leaks Behind Toilets:
1. Turn off the Water Supply:
- Description: The first crucial step in fixing hidden water leaks behind toilets is to turn off the water supply. To do this, locate the shut-off valve, often found near the base of the toilet, and turn it clockwise to stop the flow of water into the toilet tank.
- Analysis: Shutting off the water supply is essential to prevent further water waste, especially when dealing with leaks that may be challenging to repair quickly. It also ensures a safer working environment.
- Pros:
- Quick and easy process.
- Prevents water damage and wastage.
- Cons:
- May require a wrench if the valve is stiff or difficult to turn.
2. Empty the Tank:
- Description: After turning off the water supply, flush the toilet to empty the tank and remove most of the water inside. This step helps reduce the risk of spillage when you disassemble or work on the toilet.
- Analysis: Emptying the tank is a practical safety measure. It minimizes the amount of water you’ll need to deal with while inspecting, repairing, or replacing components. It’s also essential for assessing the source of the leak.
- Pros:
- Prevents accidental water spillage.
- Provides better visibility of the toilet components.
- Cons:
- It may take a bit of time to fully empty the tank.
3. Inspect and Identify:
- Description: The next step is to carefully inspect the area behind the toilet to identify the source of the leak. It could be a damaged flapper, fill valve, supply line, wax ring, or a cracked toilet base.
- Analysis: Inspecting and identifying the source of the leak is a critical step to determine the appropriate repair or replacement needed. This step may require a keen eye, flashlight, and a systematic approach to evaluate each component.
- Pros:
- Pinpoints the cause of the leak.
- Enables focused repairs or replacements.
- Cons:
- Requires careful examination and a basic understanding of toilet components.
4. Replace or Repair:
- Description: Depending on the issue you’ve identified during the inspection, you will need to replace or repair the faulty component. This can include addressing issues with the flapper, fill valve, supply line, wax ring, or the toilet base, as mentioned in the respective sections above.
- Analysis: Repairing or replacing the faulty component is the heart of the repair process. It requires a clear understanding of the toilet’s inner workings and the tools and replacement parts necessary to complete the task.
- Pros:
- Resolves the root cause of the leak.
- Extends the life and functionality of the toilet.
- Cons:
- May require plumbing skills or professional assistance, depending on the complexity of the repair.
5. Test for Leaks:
- Description: After making the necessary repairs or replacements, turn the water supply back on and test the toilet for any remaining leaks. This step ensures that the issue has been successfully resolved.
- Analysis: Testing for leaks is the final quality check to confirm that your repair or replacement was effective. By reintroducing water to the system, you can verify that the toilet is now leak-free.
- Pros:
- Validates the effectiveness of the repair.
- Prevents post-repair issues from going undetected.
- Cons:
- If leaks persist, it may be necessary to repeat the repair process.
- Cleanup:
- Description: The final step is to wipe away any excess water and ensure the area is dry. Proper cleanup helps maintain a clean and safe bathroom environment.
- Analysis: Cleanup is often overlooked but is a vital part of the process. It prevents slip hazards, discourages mold growth, and keeps the bathroom looking tidy.
- Pros:
- Promotes safety and hygiene.
- Prevents water damage and related issues.
- Cons:
- May require additional time and cleaning supplies.
6. Choosing the Right Repair Method:
The choice between repair and replacement depends on the severity and nature of the issue. For minor issues like a worn flapper or a loose connection, repairs are usually sufficient. However, for more significant problems like a cracked toilet base or severe wax ring deterioration, replacement may be necessary to ensure a long-lasting fix.
The steps to fix hidden water leaks behind toilets involve a systematic approach that starts with turning off the water supply and emptying the tank for safety and visibility. Inspecting and identifying the source of the leak is a critical phase that allows you to determine whether repair or replacement is needed. After making the necessary repairs or replacements, thorough testing ensures the issue has been successfully resolved. Finally, proper cleanup maintains a clean and safe bathroom environment. By following these steps, you can effectively address hidden water leaks and prevent water wastage, property damage, and health hazards associated with leaks.
IV– Conclusion:
By understanding the common causes of hidden water leaks behind toilets and following the steps to detect and fix them, you can prevent water wastage, water damage, and potential health hazards from mold growth. Regular maintenance and prompt repairs are key to ensuring a leak-free and efficient toilet.